Hey y'all! I've got a NEW tutorial to share! I think it's pretty fun and hopefully you will too.

Have you seen one of these snazzy cups yet? I LOVE mine and use it all the time. It's a double-walled insulated Starbucks cup. This is the larger sized one and I've had it now for probably a year or so? Originally they didn't come apart so this tutorial would've never happened if Starbucks hadn't revamped the cup.... now you can unscrew the inner 'wall' of the cup from the outer 'wall' of the cup making it easier to clean - and now DECORATE! Why not add some pizazz to your drinking cup, right?
So here's the deal - awhile back a friend posted a ridiculously awesome Washington State Cougars cup on Facebook and I quickly cried and begged for her to get me one too. Well, she was nice enough to do so and it arrived all gorgeous and shiney and glittery and I loved it BUT - the snazzy, glittery Cougar part was just plain paper printed with a WSU logo and some glued on glitter. :( It didn't last long before it got wet when I was cleaning it and that's when this idea was born:
 |
| MAKE ONE OUT OF FABRIC! (Isn't this Coug fabric the best?!) |
Here is how you TOO can make your own SNAZZIFIED Starbucks insulated cup!
What you need:

fabric of your choice

Mod Podge (I just used the standard Matte version), brush/sponge applicator,
a thin piece of cardboard and this template:
And of course your Starbucks cup*
(and some waxed paper wouldn't hurt either)

Ok - cup out your template then pin it to your fabric
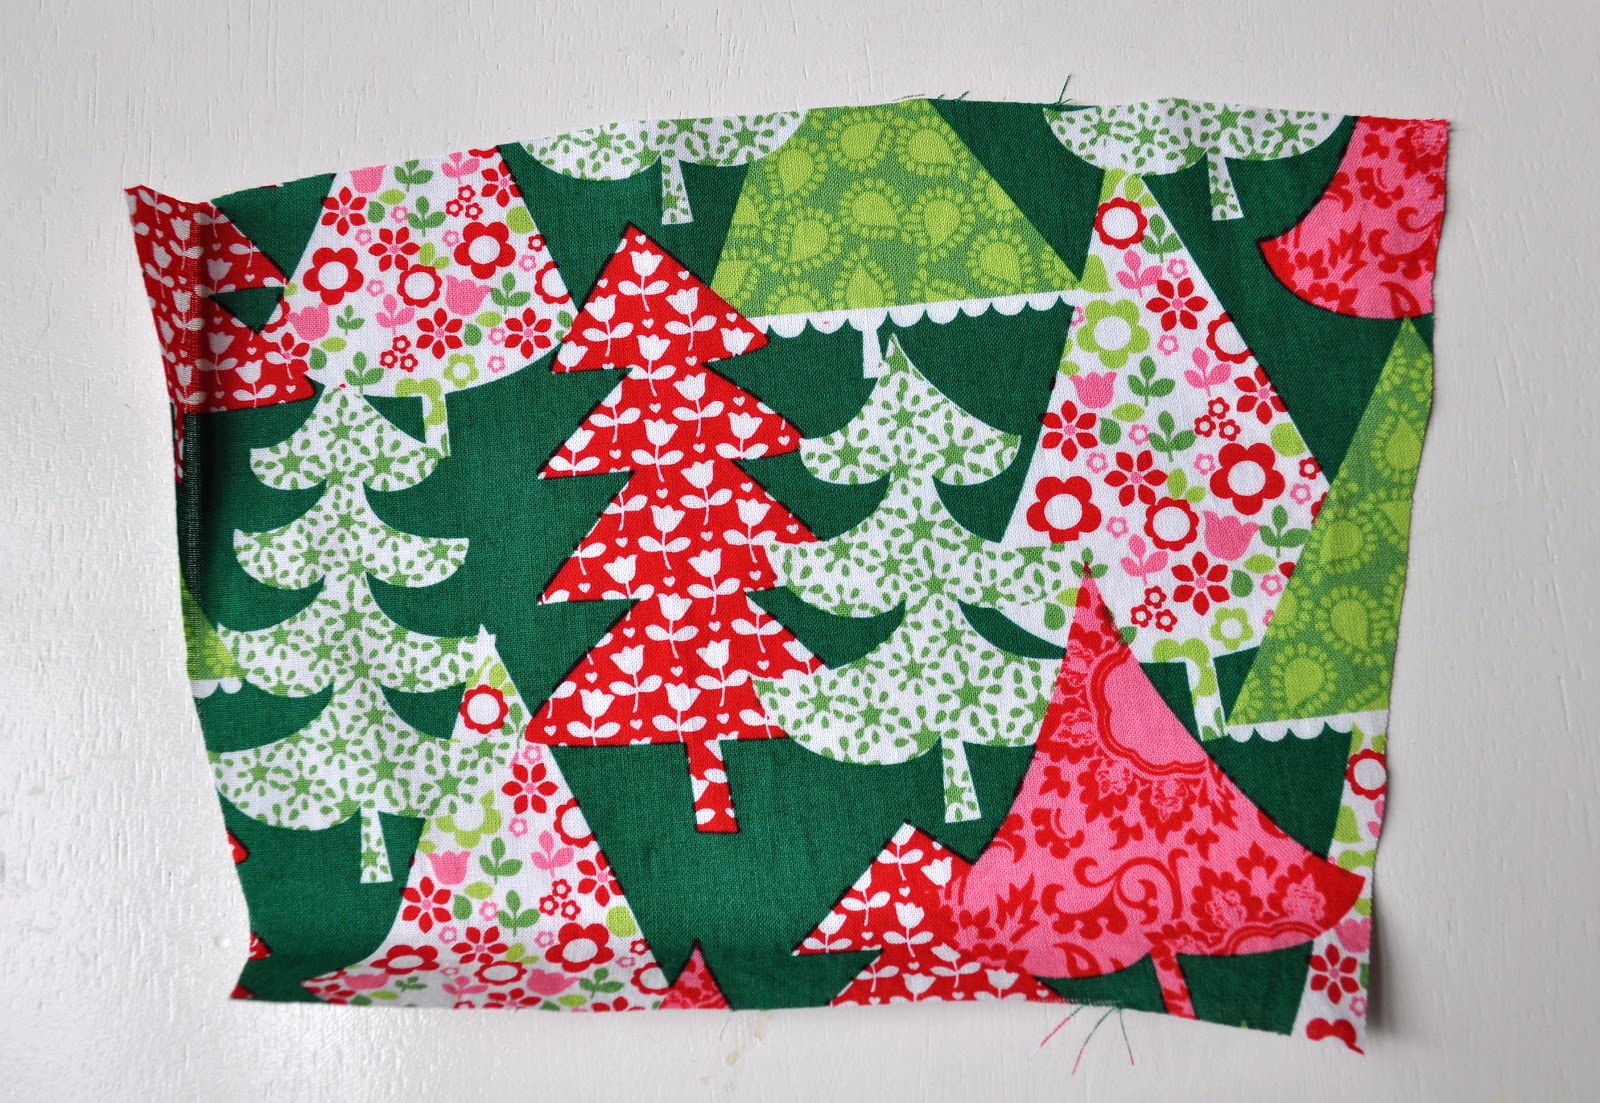
sometimes ironing your fabric first helps but you'll see - not totally necessary (I was lazy)

then use your template to cut out the lining backing....
I used a cereal box but any 'thin cardboard' like this will do

the finished product!

Now get painting with the mod podge! (Here is where the waxed paper comes in - I put it underneath the cardboard to save my crafting table from excess Mod Podge.) I'd recommend using a sponge applicator rather than these brushes. These brushes are not as durable as I give them credit for. You'll see later - bristles begin coming off and you'll soon have numerous pieces of the brush that just couldn't bear parting from the project. Annoying.

Anyhow - once you're all done painting shift it around a little so it doesn't stick to your waxed paper

Now lay your fabric carefully over the cardboard that you just finished painting with Mod Podge. Try and smooth out any air bubbles if you can.
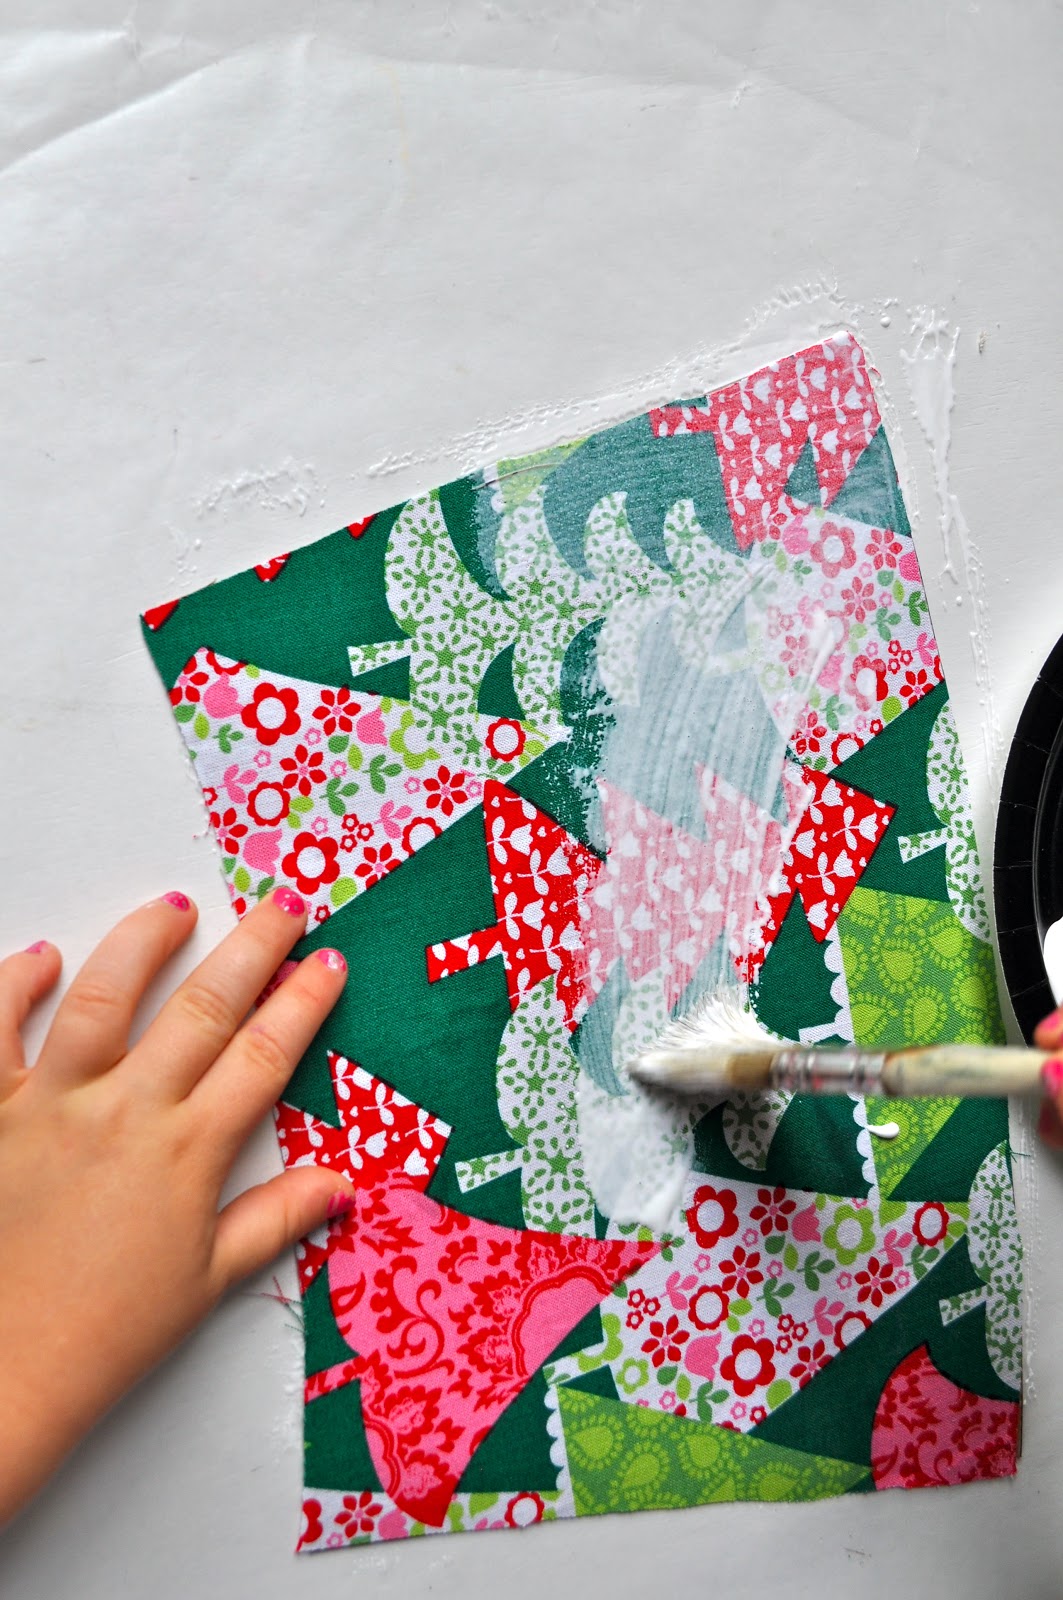
Then ask your 3 year old to help you paint on some MORE Mod Podge on top of the fabric! As you probably know, Mod Podge dries clear so you don't have to be particular about brush strokes, etc. (This is why it's ok to let your little one 'help' - this project is super hard to mess up!)


If you look REALLY closely you can see all those random brush bristles that are permanently adhered to my liner. Grrr.....

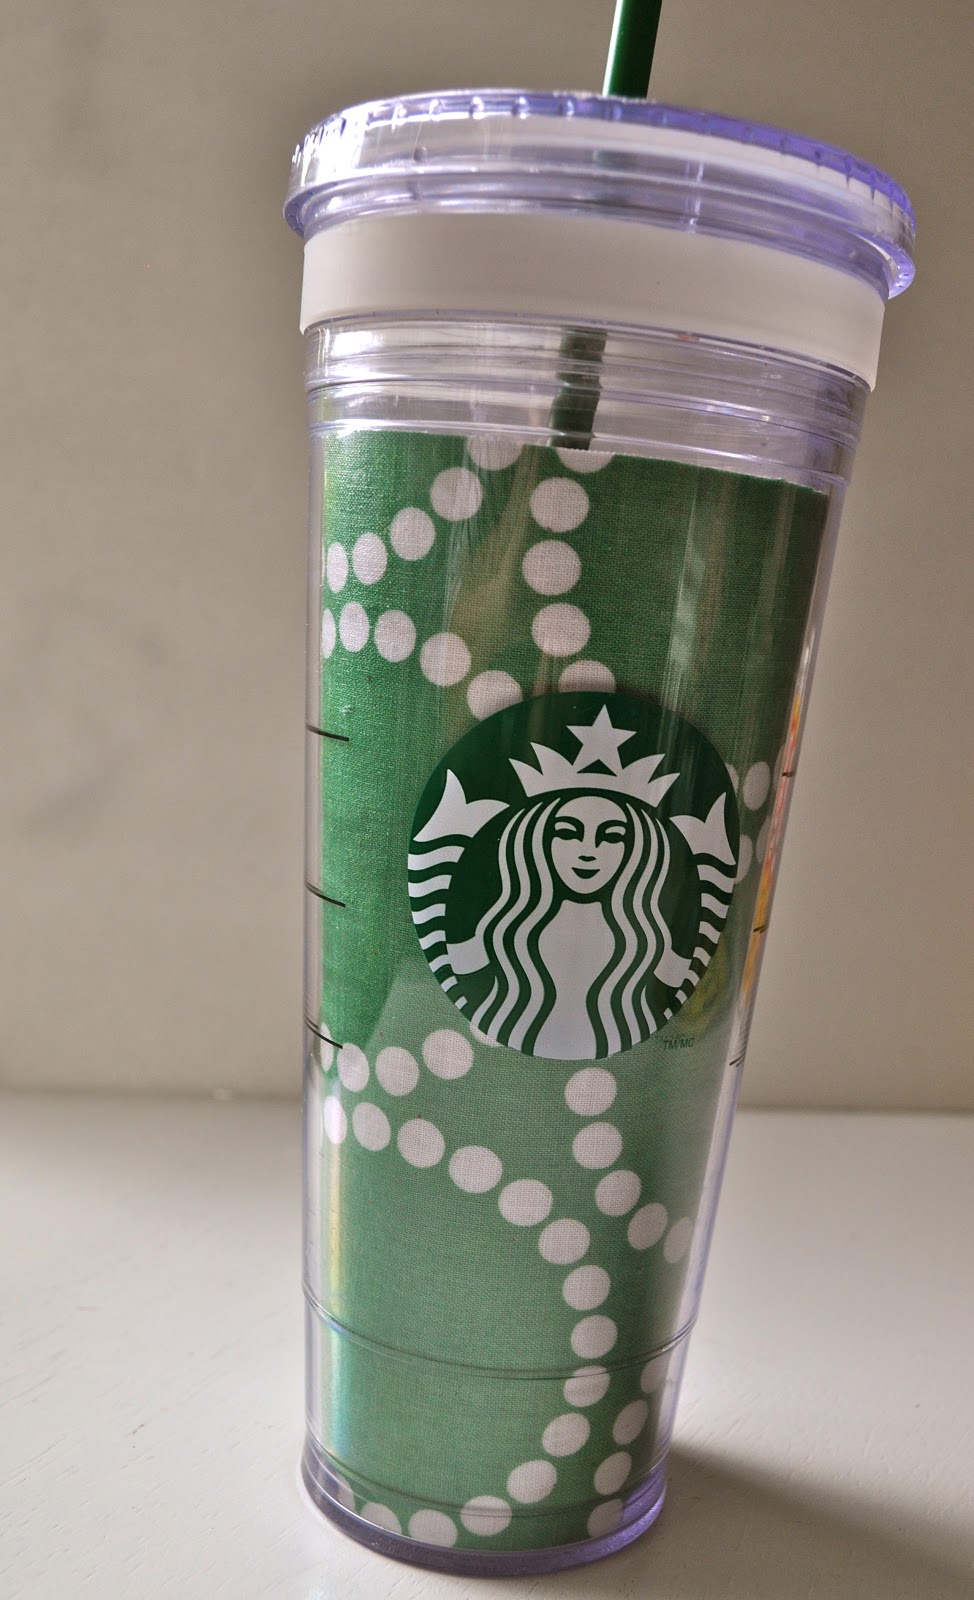
All dry! It'll curl up at the edges a bit but it's not a worry.... you'll need to curl it back in on itself to insert it into the cup and create the liner. You might need to trim some edges/corners to get it to fit well but your inner 'wall' should fit in nicely and the cup should screw together perfectly!
(Remember - a thin cardboard is important here!!!)

The finished product!
Full of Christmas cheer and ready to hold all sorts of ice cold beverages
(and keep them cold ALL DAY!) ;)


*Disclaimer - I have not tried this project using any other cup than my Starbucks insulated cup. Please let me know if you have success with any others!
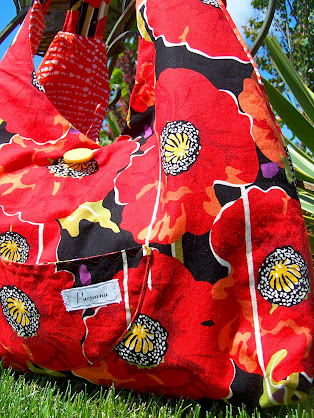
Here's a look at couple other fabric designs I've made liners with:

Another cool addition are these snazzy straws! I picked up a set at our local Target Starbucks early in November - so cute!
 |
| sparkly red, candy cane stripe and evergreen green :) |
No comments:
Post a Comment